
Production
From Script to Finished Video: A Practical AI Workflow
A step-by-step script-to-video workflow for shaping narration, planning scenes, grounding claims, generating assets, editing, and reviewing the final cut.
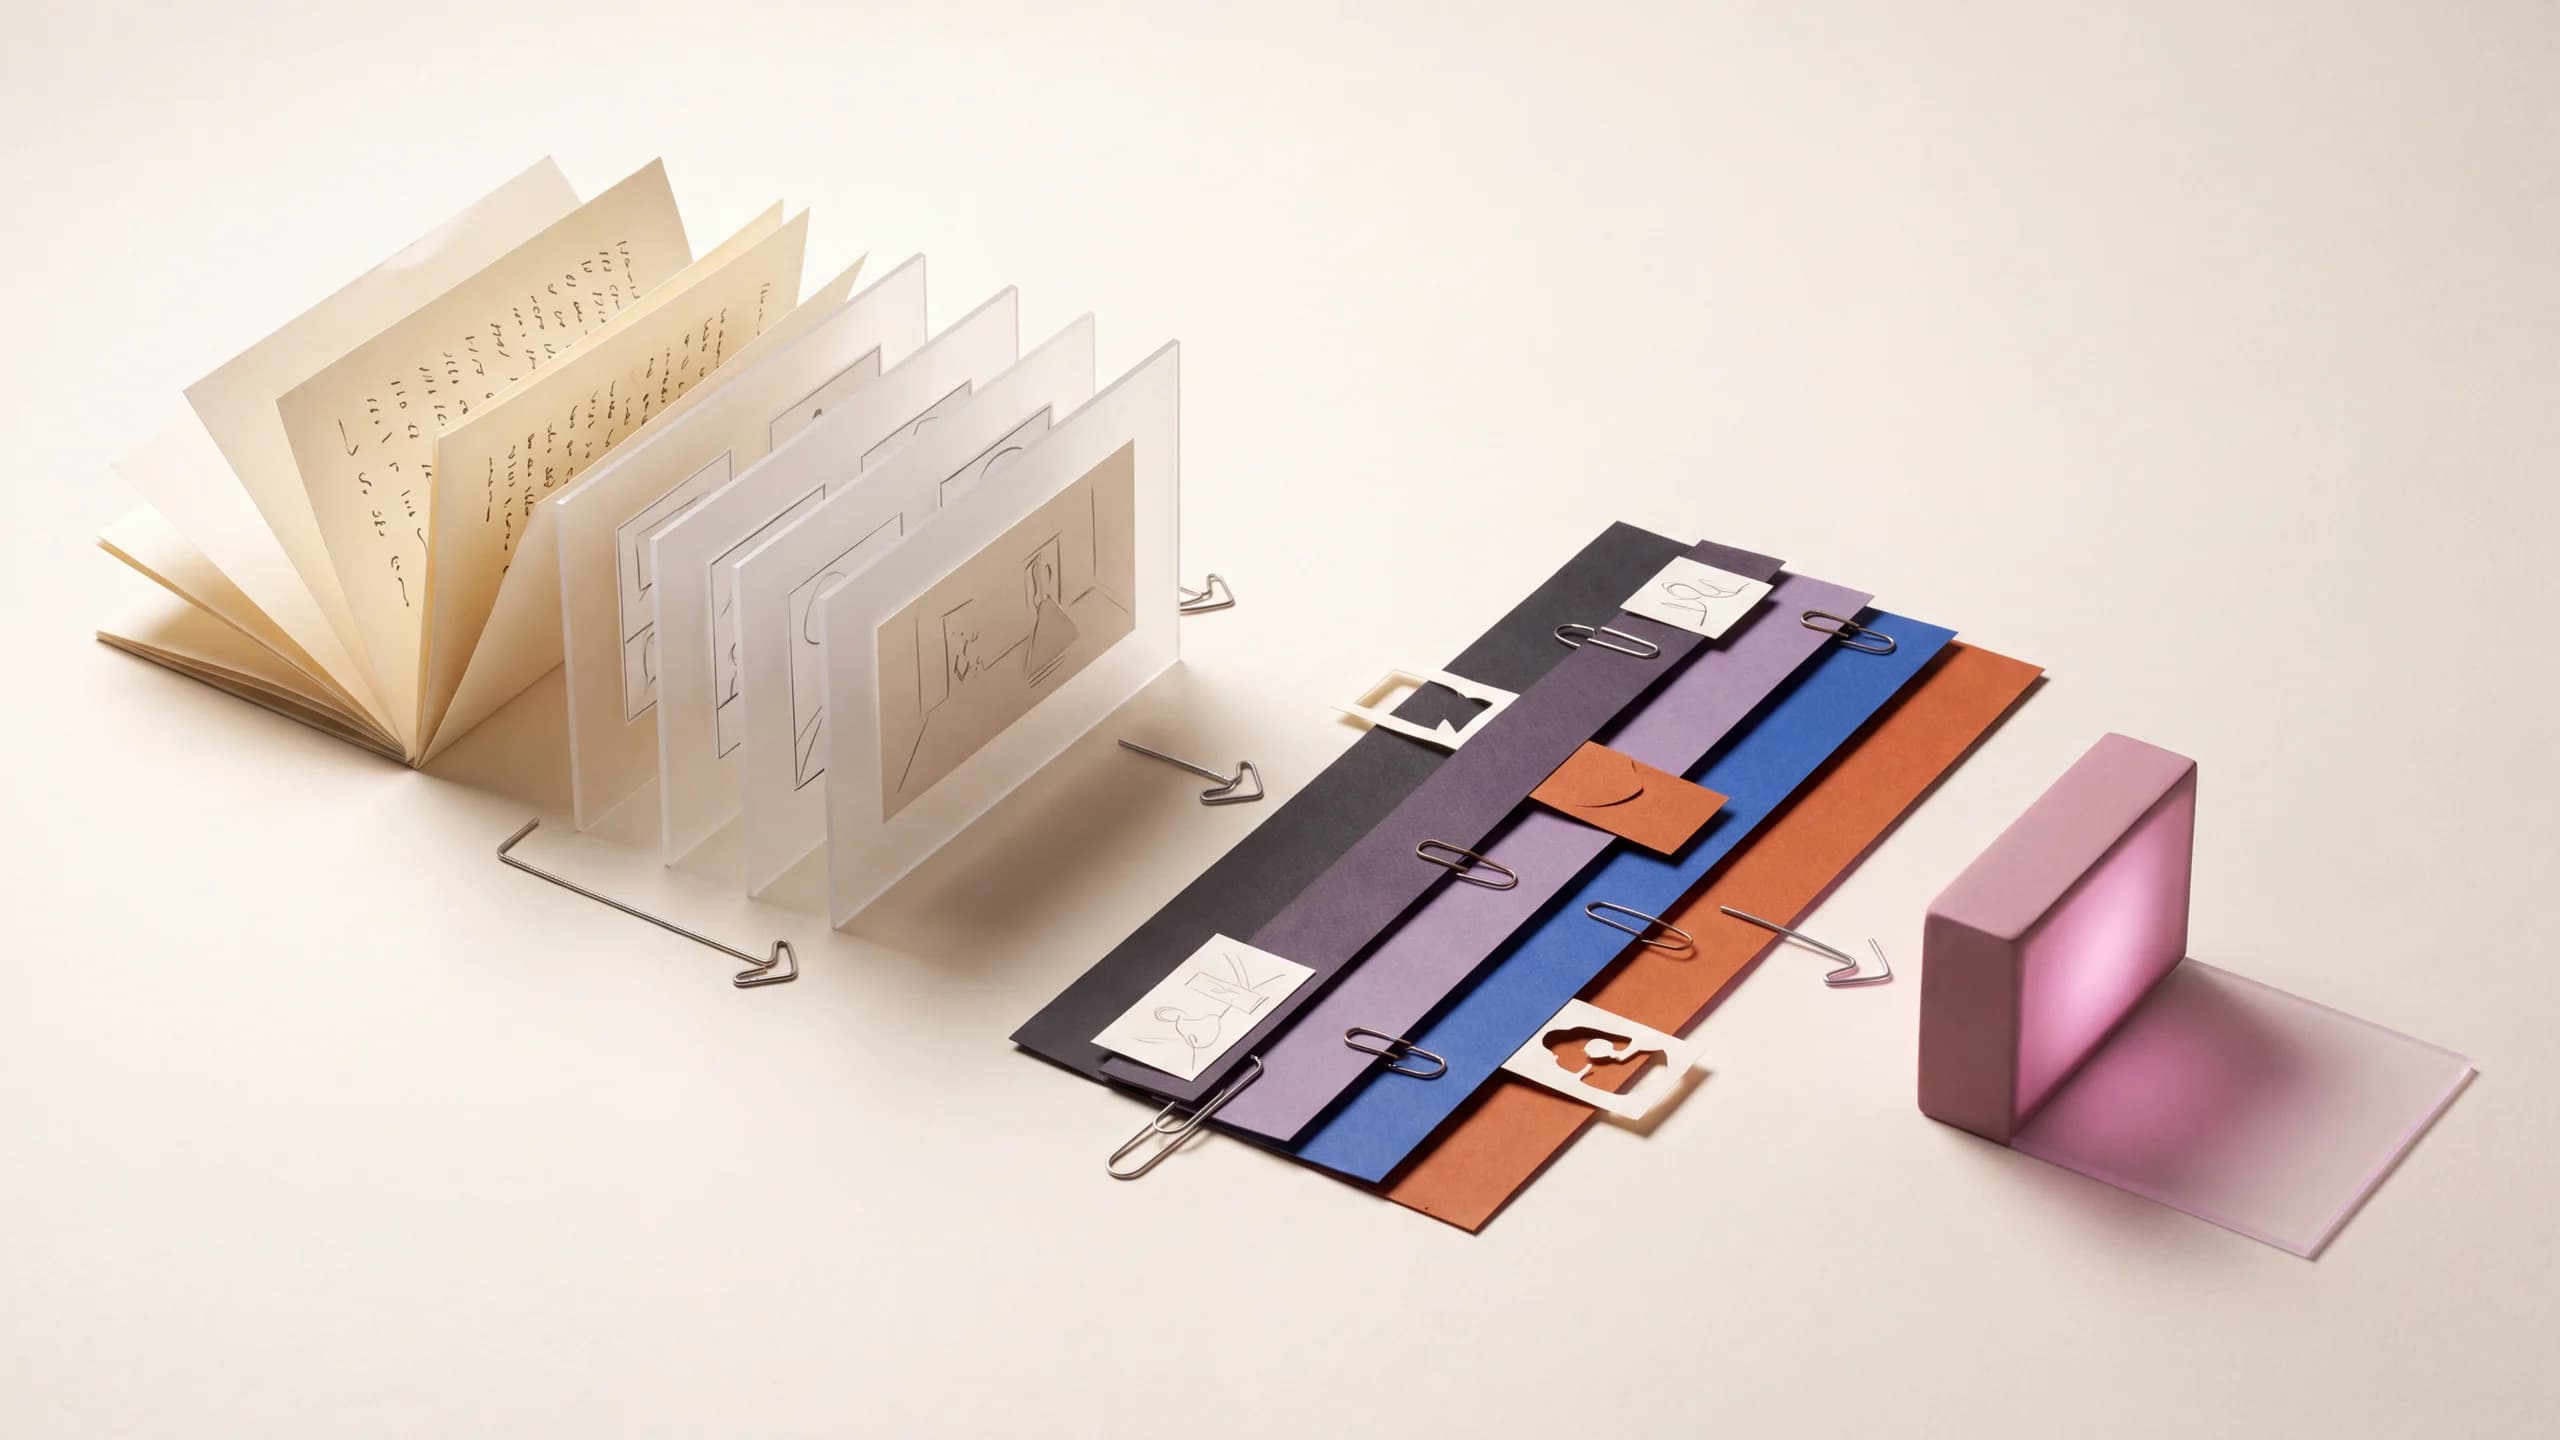
A script is not yet a video plan. It tells you what is said, but not necessarily what the viewer sees, which claims need proof, where the camera changes, how long a demonstration takes, or whether the final words fit the target duration.
A dependable script-to-video workflow closes those gaps before expensive generation. Shape the spoken track, attach a visual purpose to every section, ground factual material in approved sources, and review the rough cut before finishing.
Write the video brief before you polish the script
The brief gives every later decision a test. If a line, scene, or visual does not support the intended outcome for the intended viewer, it probably does not belong.
Define:
- Audience: who is watching and what they already know.
- Outcome: what should they understand, feel, or do afterward.
- Format: product page, vertical social post, landscape explainer, training module, presentation, or another real destination.
- Duration: a specific target or range.
- Source of truth: approved document, product URL, screenshots, research, interview, script, or brand material.
- Voice: narrator or speaker, language, tone, and words that require exact pronunciation.
- Visual method: generated scenes, real footage, screen recordings, product media, presenter, character, graphics, or a deliberate mix.
- Required elements: claims, disclaimers, captions, title, call to action, logos, and export versions.
Create a 45-second landscape explainer for operations managers evaluating a new scheduling workflow. The goal is to show how an approved request moves from intake to assignment and review. Use the attached process document and three interface recordings as the only source for product behavior. Calm, direct narration; concise captions; clean editorial graphics combined with the real interface. Do not invent features, performance figures, or customer claims. End with the exact line supplied in the script.
The script-to-video workflow can assemble a video from a prepared script and sources, but a precise brief still determines what a good result means.
Turn duration into a timing budget
Do not finish the script and then ask whether it fits. Record a plain read as soon as the first complete draft exists. Use the intended delivery style, including pauses after key ideas and enough time for names, numbers, or unfamiliar terms.
Mark the read with actual timecodes. Then reserve time for moments where picture needs to lead:
- a product step the viewer must watch;
- a title or claim that needs time to read;
- a before-and-after comparison;
- a pause before the conclusion;
- a final call to action and brand frame.
If the voice fills every second, the edit has no room to breathe. Cut repetition before speeding up the narrator. A shorter script delivered clearly is usually more useful than a dense script delivered at a pace the audience cannot follow.
Write for the ear, not the page
Written prose can be reread. Narration passes once. Make the relationship between ideas easy to hear.
Use these editing passes:
Give each sentence one main job
Separate the problem, mechanism, example, and result. Several nested clauses may be grammatically correct and still be hard to follow aloud.
Put important information in a strong position
Do not bury the product, action, or conclusion inside a long setup. Let the sentence arrive at the word the viewer needs to remember.
Replace abstractions with visible actions
“The process improves cross-functional efficiency” is difficult to picture. “A reviewer sees the request, assigns an owner, and approves the final version in one queue” gives the edit concrete steps to show—if those steps are supported by the source material.
Remove what the picture already proves
If the viewer can see the cursor move a task into Review, the narrator does not need to describe every click. Voice can explain why the step matters while picture shows how it happens.
Flag exact language
Mark required claims, disclaimers, names, quotes, and calls to action so later rewrites do not casually alter them. Also add pronunciation notes before voice generation or recording.
Read every revision aloud
Listen for repeated words, awkward breath points, unclear pronouns, and transitions that exist on the page but disappear in speech.
Split the script into beats and give each one a visual job
A script beat is a short unit with one communication purpose. It may be a sentence, several short lines, or a quiet demonstration.
For every beat, record:
- narration and on-screen wording;
- approximate start and end time;
- what the viewer must understand;
- the primary visual;
- the source asset or generation method;
- continuity from the previous shot;
- claims or details that require checking.
Then label the visual’s job.
Establish
Show the person, product, place, or situation before asking the viewer to follow details.
Demonstrate
Show a real action, interface step, transformation, or process. Demonstration should use approved source material when accuracy matters.
Explain
Use diagrams, text, objects, or visual metaphors for ideas that cannot be filmed directly.
Emphasize
Give a key phrase, number, comparison, or decision visual space. On-screen text should not compete with different narration.
Transition
Move the viewer between ideas, locations, speakers, or time periods. A transition still needs meaning; decorative footage is not automatically connective tissue.
Resolve
Show the outcome, next step, or call to action. The ending should complete the promise made at the opening.
Narration: “Every approved request enters the same review queue.”
Purpose: Explain the shared handoff.
Picture: Begin on the approved intake form, then cut to the real queue as the new request appears. Highlight the assigned owner without changing or recreating the interface.
Check: Queue label, owner name, and request status must match the supplied recording.
Avoid changing picture simply because several seconds have passed. Change when a new idea begins, an action completes, attention needs to move, or the format calls for a deliberate reset.
Attach a source of truth to factual beats
Generative video can create compelling scenes. It should not be treated as evidence for a product feature, statistic, workflow, quote, or real event.
Use the most direct approved source:
- screen recordings or screenshots for interface behavior;
- product photos or controlled renders for physical design;
- an approved document for policies, claims, and process;
- interview audio or transcripts for attributed statements;
- owned footage for real people, places, and demonstrations;
- current brand files for logos, colors, and legal lines.
If the source is a webpage, capture the content version and date used for approval. The page may change after the script is written. A dedicated URL-to-video workflow can organize a link-led starting point, but the extracted material still needs editorial review before it becomes a claim in the video.
Create a simple claim log for high-stakes work: script line, source, approver, approved wording, and last-reviewed date. If a statement has no reliable source, remove it or recast it as clearly identified opinion.
Build the least expensive version that tests the idea
The first assembly should answer structural questions, not look finished.
1. Create a scratch narration
Record a direct read or use a temporary voice. The purpose is timing and comprehension. Do not spend time perfecting performance while sections are still moving.
2. Lay down the full audio structure
Place the scratch narration on the timeline with intentional pauses. Add temporary music only if it affects pacing; keep it quiet enough to judge the words.
3. Fill every beat with a rough visual
Use approved stills, simple boards, screen recordings, or low-cost draft generations. A rough card that says “interface close-up” is better than polishing the wrong shot.
4. Watch without stopping
Note where attention drops, the narration outruns the picture, an idea repeats, or a claim lacks support. Do not fix small visual details during this pass.
5. Lock the beat order
Get approval on the argument, duration, and main visual choices. Later changes are possible, but changing structure after final voice and footage creates avoidable rework.
6. Generate or capture priority assets
Use text-to-video for shots that need an invented scene, image-to-video for approved keyframes that need motion, and real media where exact evidence matters. For generated shots, the prompting guide gives a reusable camera-subject-action structure.
Generate the hardest, most important shot early. If the concept depends on a transformation, character action, or product view that the workflow cannot deliver reliably, discover that before the rest of the video is finished.
Finish voice, music, captions, and graphics in that order
Once structure is approved, record or generate the final narration. Verify pronunciation, emphasis, pace, and exact wording against the approved script. If the voice performance changes timing, update picture deliberately rather than compressing every pause.
Choose music for the emotional and rhythmic job it performs. It should support narration, not compete with it. Check that you have the necessary rights for the intended channels, territories, and duration of use.
Add sound effects only when they clarify an action, establish a place, or create a purposeful transition. Constant interface clicks and cinematic impacts can make an otherwise calm explainer feel noisy.
Captions are not an afterthought. They need accurate words, synchronization, readable line breaks, contrast, and placement that survives the target platform’s controls. Whenever possible, provide a proper caption file as well as any designed on-screen text. The W3C distinguishes captions—which include speech and important non-speech audio—from a transcript that presents the information separately.
Keep graphic text concise. If a title repeats the full narration, the viewer must read and listen to the same idea at different speeds. Use text to name, orient, or emphasize.
Review the final video in separate passes
One broad “looks good” watch-through misses systematic problems. Review by category.
Story and timing
Does the opening make a clear promise? Does each section advance it? Is there enough time to perceive demonstrations and read necessary text? Does the ending supply the intended next step?
Factual accuracy
Check every name, number, claim, interface state, product detail, quote, disclaimer, and link against its approved source.
Visual continuity
Look for character drift, changing props, inconsistent screen direction, mismatched lighting, unstable generated text, malformed details, and abrupt style changes.
Audio
Listen on headphones and ordinary device speakers. Check intelligibility, unwanted noise, music balance, clipped words, pronunciation, and whether the opening or ending is cut too tightly.
Captions and on-screen text
Compare captions word for word with the final audio. Check spelling, timing, line breaks, contrast, safe placement, and whether platform interface elements cover them.
Delivery
Watch the exported file, not only the editing timeline. Confirm duration, frame shape, resolution, audio, thumbnail, filename, and each platform-specific version.
Ask a reviewer who did not write the script to watch once without context. Their questions reveal assumptions the production team can no longer see.
Frequently asked questions
Can an AI tool turn any script into a finished video automatically?
It can assemble a draft, but source accuracy, visual fit, voice, pacing, captions, rights, and final quality still require direction and review. Automation changes the workflow; it does not remove editorial responsibility.
How long should a script be for a short video?
Set the target duration, record the intended delivery, and time it. Speaking pace changes with language, tone, names, numbers, and planned pauses, so a timed read is more reliable than a universal word-count formula.
Should the narration describe everything on screen?
No. Let picture demonstrate visible actions while narration supplies context, meaning, or the point the viewer cannot infer. Repeating every click usually makes both channels less useful.
When should I use generated footage instead of stock or owned media?
Use generated footage for scenes, metaphors, or visual worlds that do not need to document reality. Use owned, licensed, or approved source media when identity, product details, interfaces, places, or events must be exact.
Should captions match the script or the final voice?
They should match the final audible content, including any approved performance changes. Verify them after the final voice edit, not only against an earlier script.
Sources and further reading
- W3C Web Accessibility Initiative: Captions and transcripts
- Google Cloud: Ultimate prompting guide for Veo 3.1
This guide was written by the Brevity editorial team from the linked primary guidance and practical video-production methods. Product behavior, model controls, and platform delivery requirements change, so confirm current specifications for each release.